

Stripping the bike down to the bare frame was easy and I took lots of pictures. That being said, for all of you other newbies, no matter how many photos you take, it will never be enough. At least 4 times I could not find photos of things that I needed to see, but relied on shots that showed the fit from a bad angle, or I had to wait till I could take a look at one of the other three known 1968/69 CL450s in my area. TAKE PHOTOS UNTIL YOU THINK THAT YOU HAVE EVERYTHING AND THEN TAKE A BUNCH MORE... :-)
Cleaning the frame was a horrible job because this bike seems to have been abused off-road for much of the 36 years that it was not licensed for the road.


I could have left it, and simply not had a bolt supporting the middle, but my old swingarm also seemed slightly bent when I attached my rear shocks. I bit the bullet and found another swingarm on E-Bay. The replacement swingarm has the mounting point and the shocks slid on almost effortlessly. I had to paint it to match the rest of the frame and avoid spraying over the original sticker that was still attached to this swingarm.

Both of the front fork tubes were bent. 3 years on, I cannot remember by how much, but it was HUGE. I took them over to the shop of a friend, with a hydraulic press, and we went to work. The best we could do was on the right one, which we got to .04mm out, at the bend point. This was as close as we dared to press our luck, as we worried about bending it the other way. It was here, in this shop, that I discovered that the damping systems on these tubes were different from each other:


Seat

The original seat pan was covered in foam that was really not the shape that it needed to be, and the bike came with a replacement cover that could not go over it. It also had a plastic facimile of the trim strip that was completely useless because it would have to be crimped onto the cover (no attaching to the pan). When I took this to a local re-upholsterer, he quoted me over $2000 because he did not know how it was supposed to be shaped and would have to experiment. He told me that I would likely still not be satisfied with the outcome (he had me pegged). He also refused to use the plastic trim, so if I wanted him to include the trim, I would have to get a proper one (yikes). I haven't spoken to this guy since...
There were two original seats listed on E-Bay so I bought what looked like the better of the two.


The whole cost of buying the unfortunate seat, getting the pan fixed, and getting foam and a new cover was about half of the cost that the first guy wanted (because, I'm sure that he was trying to get rid of me). I am really happy with the result.
Oh, and before you ask... The first seat pan was missing more than half of it's hold-down clips (for the cover) and it had been bronze welded where it had been split (likely by a heavy rider and a hard bounce). Bob and I did consider both of them, but the new pan seemed a better specimen for repair because there was no way to be sure that the old one would not have split again.
Adding a Rear Rack
I wanted a rack for the back, and I found one from a 1969 CL450 on E-Bay. It was a bit surface-rusted, but I was able to get rid of that quite well. Because of how low it sits over the rear light, I have my doubts that it was made for a CL450, but oh, I like the look!!


We interrupt this blog to bring you a quick update on my project. As you'll learn in future posts, I had to put the Hellcat back together (spoiler alert) with bent fork tubes, to make a rolling frame, so that I could do a garage reno.... full story of the reno follows.... The bike will return in the future.
So in March of 2021, in the midst of the pandemic, I broke my garage door opener chain. Being too cheap to hire a specialist, I fixed it myself.
I knew that there was something wrong when, upon testing, the motor box made a regular thunking sound, but "no problem", I thought, the chain is just too tight. I loosened the chain 3 times, each time hearing that wicked thunking/chunking sound. On the 4th try, my sprocket sheared. Ok, a new garage door opener was now in order.
The previous owner had gerry-rigged a standard garage door opener into a space that was 5 inches too short, because of a ceiling support joist and post situated right in the middle of my double garage door. I have hated it since the day that I moved in, so 18 years later, I finally got to install a new wall mounted opener.
The LiftMaster rep then told me what I didn't want to hear: "The door tracks that you have are low-profile and our opener won't work with them."
Undaunted, I called a door guy (not-coincidentally, one that sold LiftMaster openers) to see how much the damage would be to get a new door and opener together, with the appropriate track system. The price was right, and I was about to say yes, when I mused that I had planned to do this reno in three years, not now, but the cement floor, the driveway and the retaining wall could still wait. I was then deflated when the door guy told me that the cement replacement was guaranteed to change the height of my floor, so I should do the floor before I replaced the door.... DOH!!!
For you Canadians, in he 1980's, Gordon Pape published a book in Canada called the $50,000 Stove Handle, in which he described how a simple trip to an appliance store, to get a replacement handle for his stove, spiraled out of control into a full kitchen reno. This was my Gordon Pape moment.
I was very lucky. I did some research on cement contractors in my area, and there is one that stands above the others. It was mid-March, and usually cement workers are inactive in my northern climate, but a warmer than usual March had gotten their attention. It was Friday afternoon when I called the really good guy... and he agreed to come and take a look. He told me that if I could completely empty the garage within a week, then he could do it in the last week of March, but if I couldn't then I would be in July as he had work scheduled from April 1 until then.
My basement and cold room are still (December 2021) stacked high with shelving, bike parts, tools, and everything else that I could move into the basement. My bikes, workbench and tool chest were distributed amongst three neighbors houses as the work began...in March.
 |
| The space before construction began. Note the old opener offset to one side of the post (connected to the door on the other side of the post. |


 |
| Ready to pour! |
 |
| Not really part of the garage, but if borrowing to do this, you may as well go all the way: New garage door, new driveway and new retaining wall pictured in August. |


 |
| The work area. The wall around the corner to the left had not been painted yet. |
 |
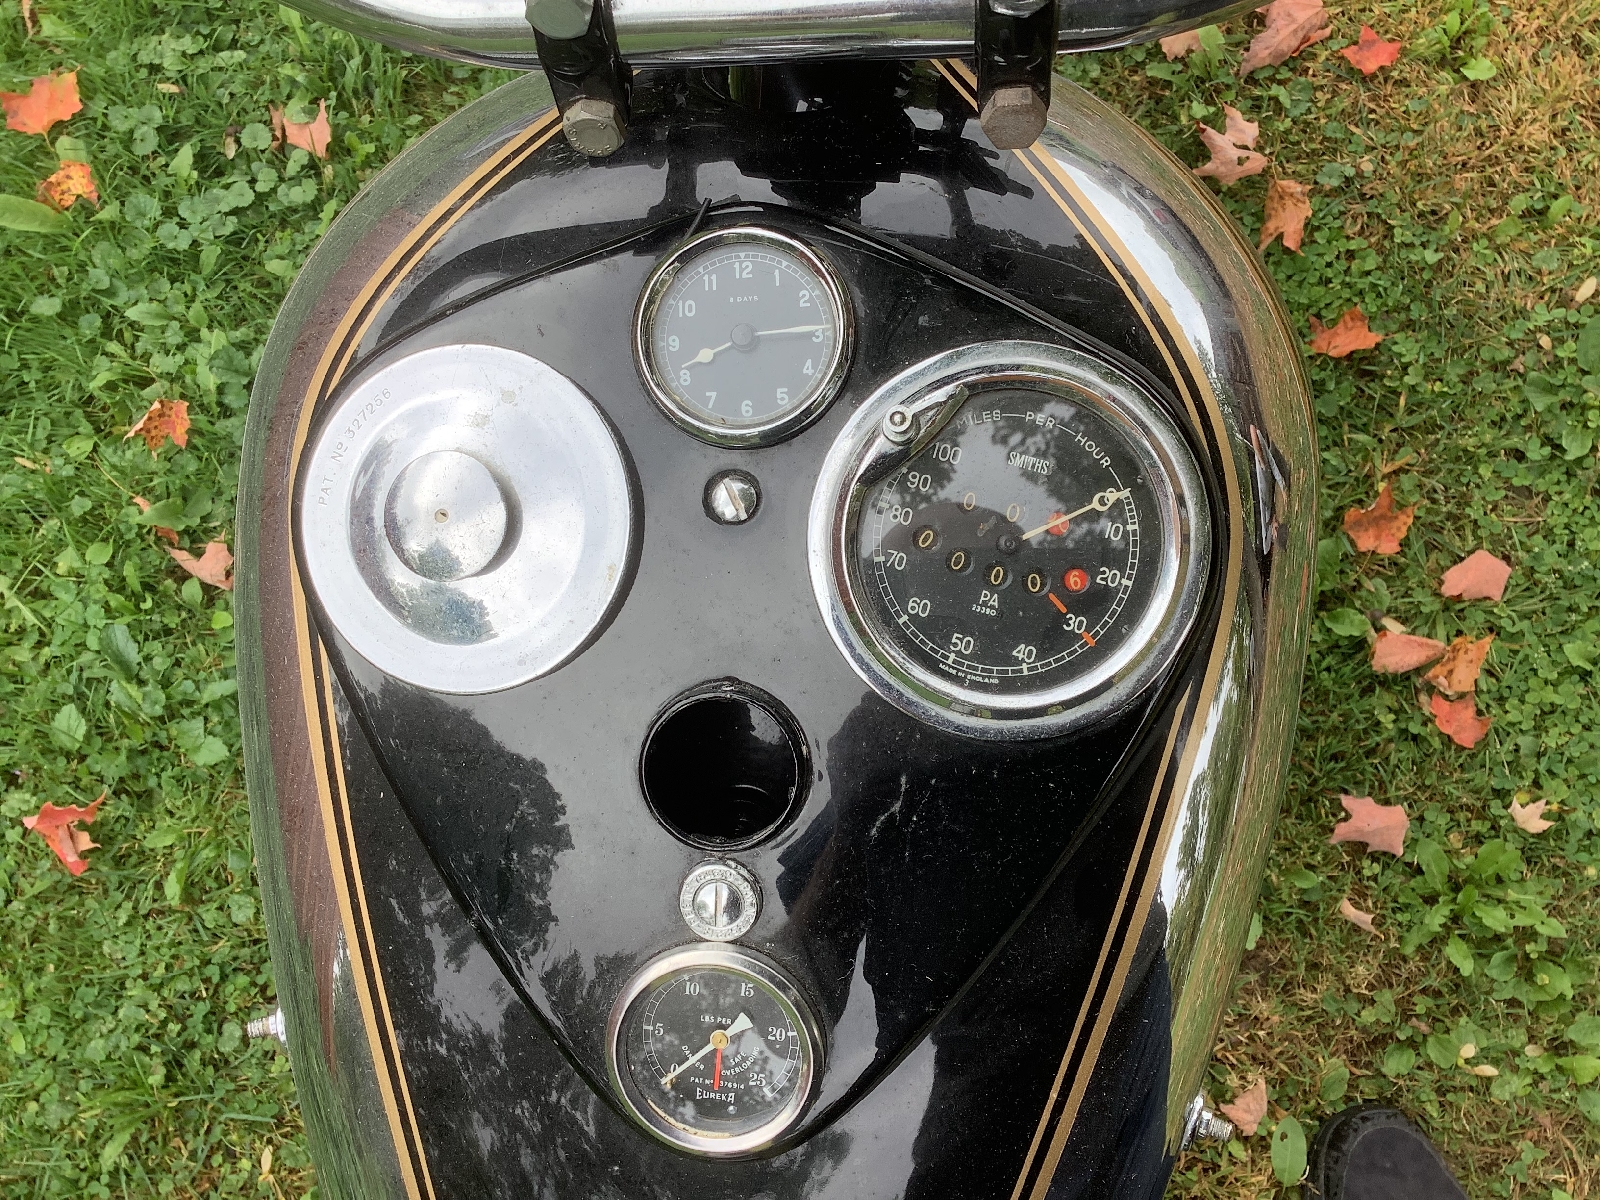
| Best photo I could find of the right side of the tank. |


 |
| Before - This photo was taken around Christmas, 2018 as I was cleaning 36 years worth of accumulated oil, grease and dirt. |
 |
| After - This photo was taken a month ago. |
